0% Interest For 12 Months On Orders Over $5,000! | Shop Now

When I first walked into my practice five years ago, the surgical gear looked like something out of a museum—rusted forceps, outdated elevators, and no real workflow for extractions or grafting. Fast forward to today: surgical services are not just a core part of my practice—they’re one of the biggest drivers of patient satisfaction, treatment success, and practice profitability.
If you’re a GP looking to expand into extractions, socket grafting, and implants, my goal is to show you how these procedures can be simplified, systemized, and made repeatable. It’s not about being flashy. It’s about being efficient, predictable, and confident in your approach.
One of the most important lessons I’ve learned is that minimally traumatic extractions are the foundation of successful socket preservation. Traditional instruments put the fulcrum in the wrong place, leading to fractured roots and unnecessary trauma. That’s why I use tools like the elevatome® 2.0—a hybrid between an elevator and a periotome.
With a push-and-twist motion at each line angle, you can access and expand the PDL space without damaging the buccal or lingual plate. Pair that with luxating forceps that use apical pressure and ergonomic grips, and you’ve got a minimally traumatic extraction protocol that preserves bone and soft tissue—ideal for immediate grafting or implants.
Let’s be real: bone doesn’t “just grow back.” Research shows that within three months post-extraction, you can lose 2–3 mm of vertical height and 3–6 mm of ridge width. That makes implant placement harder, compromises restorative outcomes, and risks patient satisfaction.
The entire grafting process adds maybe five minutes to the visit, yet it preserves up to 80% more bone and sets the stage for a future implant. That’s time well spent.
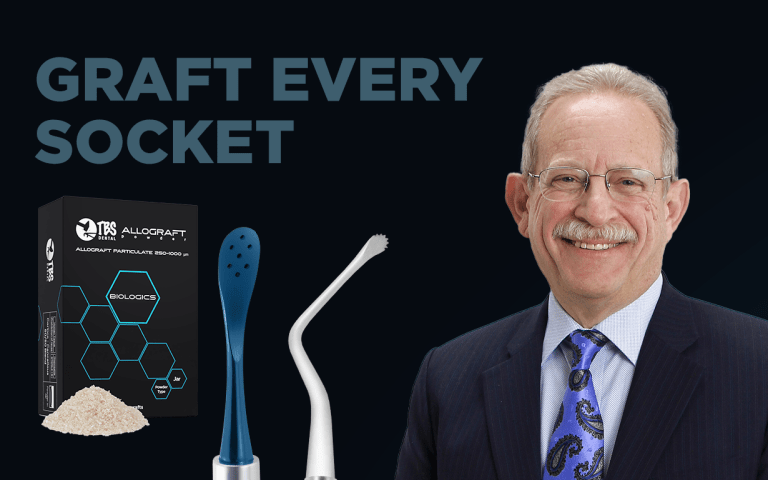
Efficiency starts with design. TBS’s curved syringes for graft delivery are a game changer. I hydrate them with sterile saline or PRF serum, and they let me place the graft directly into the socket with minimal waste or mess. Their perforated periosteal elevators let me suction over the graft without disturbing it—a small detail that saves big time during surgery.
Bone grafting shouldn’t be a 20-minute chore. With the right instruments, it becomes a one-minute process.
A graft without a membrane is like concrete without a mold. Soft tissue heals faster than bone—if you don’t cover your graft, epithelial cells invade, and your graft fails.
There’s debate between resorbable vs. non-resorbable membranes, but with TBS’s non-crosslinked collagen membranes, I’ve found the best of both worlds:
PTFE still has its place, especially when I want extra strength or am dealing with complex sites, but these new membranes are quickly becoming my favorite.
You can’t graft in a war zone. If a patient has multiple adjacent abscesses, trying to preserve one site is usually a waste of time and money. Educate patients on global treatment planning—show them the CBCT, explain why site conditions matter, and always advocate for what you’d want done for your own family.
And when it comes to discussing cadaver bone or graft materials? Be transparent. I use animated videos and explain things in plain English. I’ve only had one patient decline a graft in five years. Most patients just want to understand what’s going in their body—and why.
Here’s what my typical socket preservation flow looks like:
Six months later, I re-enter the site to place the implant. Most cases show vital, bleeding host bone and thick soft tissue—ideal for long-term implant success.
Let’s talk numbers. A typical graft costs:
Procedure fee: $600–950
Time added to visit: 5 minutes
ROI: Very good
Add in the implant, sedation, surgical guide, and digital crown, and your total fee can reach $5,000–$6,000—with only ~$1,000 in hard costs. This is one of the most efficient, predictable, and rewarding procedures you can add to a GP practice.
Socket preservation isn’t just a procedure—it’s a mindset. It’s about delivering predictable care, maximizing long-term outcomes, and building systems you can replicate day in and day out. When you invest in the right tools, materials, and training, you’re not just improving your surgeries—you’re elevating your entire practice.
If you’re ready to simplify your surgical workflow and make socket grafting a consistent, profitable part of your practice, start with the basics, trust the process, and focus on what’s predictable and repeatable.
Got questions? Feel free to reach out. I’m always happy to share what’s working—and what isn’t.